At-home gel nails made easy
First shape nails with a nail file, and clean cuticles to prepare nails for gel application.
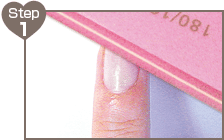 After gently filing the entire nail with the EB sponge file, wipe clean any oil residue or dirt with the EB Gel Cleanser.。
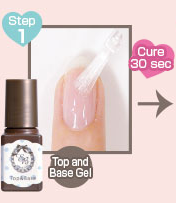
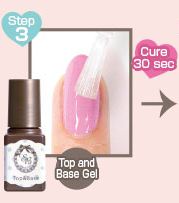
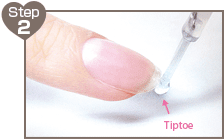 Apply the EB top and base gel starting at the tip of the nail.
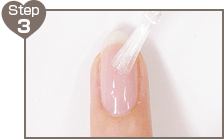 Apply a thin even layer to the nail surface.
Wipe clean cuticle and surrounding area with an orange stick each time, before curing under LED light. This will prevent gels from peeling and chipping.
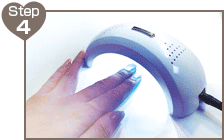 Cure under the EB LED light for 30 sec. If you experience any pain, remove fingers from light, and try again after a few minutes. If you apply thick heavy coats, you may experience some pain due to the fast shrinkage of curing gels.
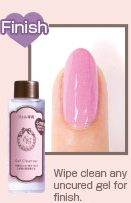
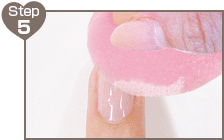 Soak a cleansing sponge or cotton wipe with EB Gel Cleanser to wipe clean any uncured gel.
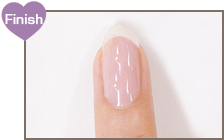 Finished!
* You can also use a variety of stickers, glitters, and rhinestones for creating gel nail art.
To apply color gels
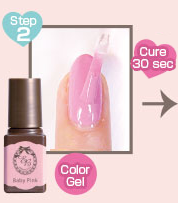
 * If finish feels weak or brittle, cure under LED light for a longer time.
How to Off
EB Bottle Gel Top and Base, and EB Bottle Gel Colors are soak-off type gels that can be easily removed with the EB Gel Remover or a gel remover.

